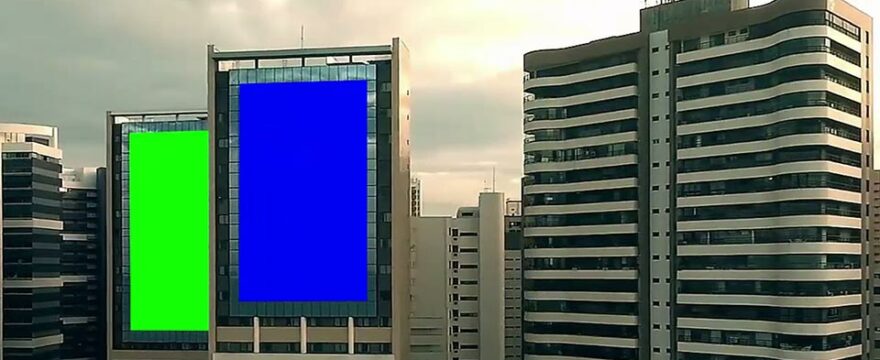
The Fusion planar tracker is a simple and capable tracking tool in DaVinci Resolve. It allows you to track even surfaces and you can corner-pin effects on top of them.
After adding the Planar Tracker node, you first select the area of interest with a Polygon. This area needs to be in the same flat plane where you want to work on for your final effect. But, the two areas do not need to be identical. Good trackable contrast often lies outside of the area of your final composite.
The planar tracker has two Tracker types: “Point” and “Hybrid Point/Area”. Typically, “Hybrid Point/Area” is more accurate, but not always. This option can still work well if there are only a few high contrast points available to track.
The downside is that this method always considers the whole area and cannot discard false information. Strong highlights, objects that pass through, or reflections can literally throw the tracker off track. In case of such conflicting data, the “Point” tracker may run more stable.
If your tracked area is getting occluded, you have two options. You can attach an occlusion mask or you can change your tracked area for parts of the sequence.
Finally, you can intervene and fix areas that you were unable to track. If you use the Corner Pin, this can be as simple as animating the corner points for those few frames.


Hi Bernd,
The tutorial package is not downloadable !
Have a good day
Please try again now. I had an issue with the link to this page but now it should be fixed.
Thank you Bernd, it works fine
J.P
Great tutorial Bernd!
Thanks
Thanks for the tutorial! Its pretty much over my head but I did see how to do some new “ways” or functions by watching, and listening to you work ! You are a PRO andI have a lot to learn. One basic question that am not grasping …. in the project file you provided, the readme.txt, it says, “Right-click -> Restore Project Archive”. When I am in File Manager and right click your project.drp file, which was in your download packet, I don’t see a choice to Restore. What am I doing wrong? Thanks again, Steu
Ok, think i got it now. It’s right click from DR project manager screen to see the “restore project archive” choice.
Thanks again on the excellent tutorial!
Hi,
I’ve been learning your tutorials on planar tracker. I used hybrid area and translation rotation scale for tracking. The one long clip is more than 1500 keyframes. And I have 5 different clips to add to corner pin. In order to add different clips, I cut the long clip into 5 segments. I am successful to add the first 4 clips into the first 4 segments. But when I added the 5th clip, I come across an issue with loading a media after corner pinning. The media shows up at the start of the first keyframe in the 5th clip, but after two keyframes, it disappears.
What could be happening?
Hi Bernd, thanks for these great tutorials. I have a problem with my effects masks that I apply with the planar tracking data. They seem to get scaled-down and no longer fit what I want to mask.
I’m sure it’s to do with different resolutions but I can’t seem to fix it. I’ve tried cropping also.
Thanks if you have time to help. In the meantime, I will continue watching your videos.
Hmm, could be dimension. You can also set the dimensions for the mask manually if you go into the settings of the mask node. Normally it is set automatically by the image that you attach the mask to. Another issue I see sometimes, is that the mask controls don’t seem to always update instantly when you look at the mask after the tracker. Meaning you still see the mask in the old position. Sometimes that leads to accidental incorrect adjustments. I found that typically the mask control gets updated when doing any change on the mask node itself – even toggling it on or off. Also not 100% sure if that is related to your issue, just mentioning it cause I’ve seen it a few times recently.