When working on a film or video project, one of the subtleties that can make or break a scene is the realism of the sound design. In this tutorial, DaVinci Resolve & Fairlight trainer Garvin Lucas walks us through a detailed process of transforming a simple footstep audio file into a seamless part of a cinematic scene.
Syncing Audio Using Elastic Wave
To begin, Garvin selects a raw footstep audio file from the Fairlight Sound Library and aligns it with the on-screen footsteps in his video clip. Instead of manually cutting and moving clips around, he uses Elastic Wave, a feature in Fairlight that allows precise audio time-stretching.
Avoiding Repetition and Adding Variation
Repeated use of the same sound can become obvious and distracting to the viewer. Garvin demonstrates how to avoid this by creating subtle variations in repeated audio clips. Pitch and volume adjustments, in particular, can effectively disguise reused clips and create a more natural variation.
Automating Volume and Pitch for Realism
As the character walks away from the camera, Garvin simulates the change in perceived sound by automating both the fader level and pitch of the audio.
First, he enables Automation in Fairlight and sets keyframes for the fader to gradually reduce the volume. This mirrors the natural drop in loudness as the character becomes more distant.
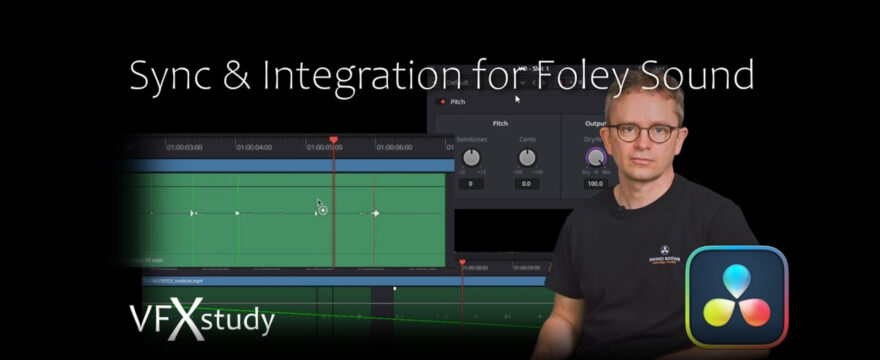
Next, he adds a Pitch effect to the track via the Fairlight mixer. By automating the pitch semitone values over time, the footsteps subtly deepen as they recede, adding to the immersive quality of the sound.
Final Thoughts
This tutorial showcases Fairlight’s power for precise, realistic sound design. From syncing and stretching audio with Elastic Wave to customizing pitch and volume through automation, Garvin demonstrates a professional-grade approach to an everyday task: integrating footsteps.
If you want to master Fairlight, don’t miss Garvin’s comprehensive Fairlight course.

Leave a Comment
You must be logged in to post a comment.