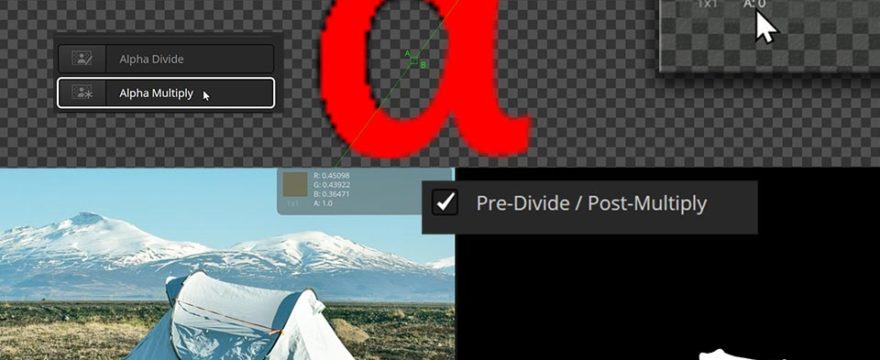
Dark or bright fringes, jagged edges, or color values where you don’t expect them. These are common accidents when working on images with transparency. Often a little checkbox “Pre-Divide/Post-Multiply” provides the solution.
The origin of the checkbox and the underlying issue is the simple fact that Fusion allows you to work independently on color and alpha channels and lets you decide how you want to combine them. Applying an alpha channel typically means that alpha values are multiplied with the color values. This ensures that transparent areas (alpha = 0) don’t contribute any color (R = G = B = 0) and that color values in semi-transparent areas are darker since semi-transparent objects emit less light than opaque objects.
When performing color correction operations, the same logic should apply, and on a numerical level, semi-transparent or transparent areas need to be treated differently than opaque regions. The technical solution is to first divide by the alpha channel, then do color correction, then multiply again. And that’s exactly what the “Pre-Divide/Post-Multiply” checkbox that you find in different color tools in Fusion does.
Have a look at the video for some practical examples and detailed demonstrations.


What a great tutorial. This topic can be very confusing, at least to me, and this is the first clear explanation I’ve heard. It’s particularly good that different ways of thinking about it are presented. Terrific, thank you.